.jpg)
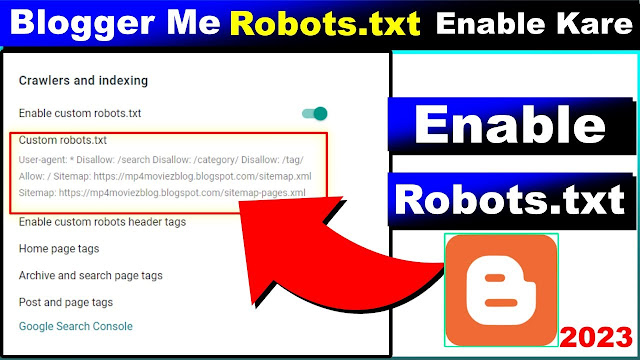
To enable Custom Robots Header Tags for your Blogger (Blogspot) blog, follow these steps:
Log in to your Blogger Dashboard:
- Sign in to your Blogger account using your Gmail credentials.
Access Settings:
- From the left menu, click on “Settings”.
Navigate to Crawlers and Indexing:
- Scroll down to the “Crawlers and indexing” section.
Enable Custom Robots Header Tags:
- Look for “Enable custom robots header tags” and switch it on.
- You’ll find different types of custom robots tags that you can enable according to your requirements.
Configure Custom Robots Tags:
- Click on “Home page tags” to set up custom robot tags for the home page.
- Similarly, you can set up custom robot tags for Archive and Search pages.
- For individual posts and pages, customize robot tags based on your preferences and requirements.
Remember:
- Be cautious: If you’re unsure about the changes or their impact, avoid enabling custom robots header tags.
- Save your changes: After making adjustments, don’t forget to click the “Save” button.
Custom robots header tags help improve your blog’s visibility in search engines. Use them wisely to enhance your SEO! 🤖🔍
Feel free to ask if you need further assistance! 😊


.jpg)
0 Comments